How to Use the Green Screen Effect in Windows Movie Maker ?
You may find video editing a little bit complicated,but importing green screen is really helpful for video production.This article will show you step by step how to create a green-screen effect for your video with Windows Movie Maker.
Step 1: Enter the video footage
Upload the video whose background needs to be changed, and move it to the "Picture in Picture Track" as shown below.
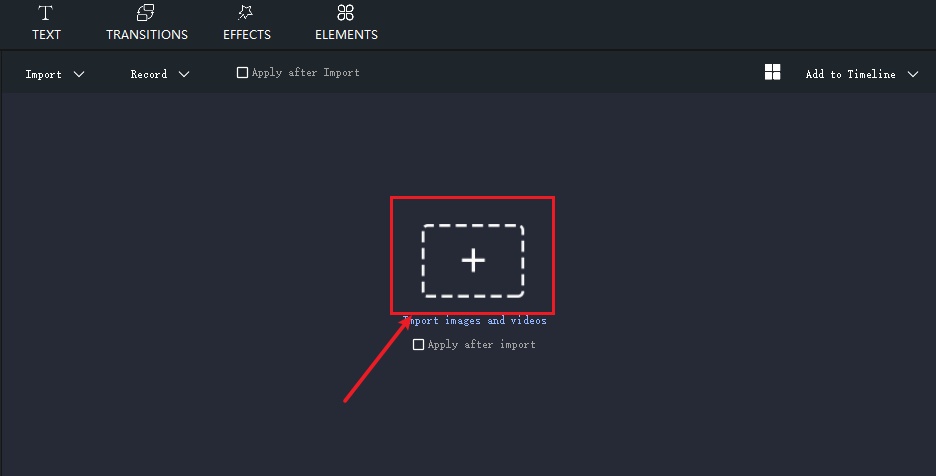
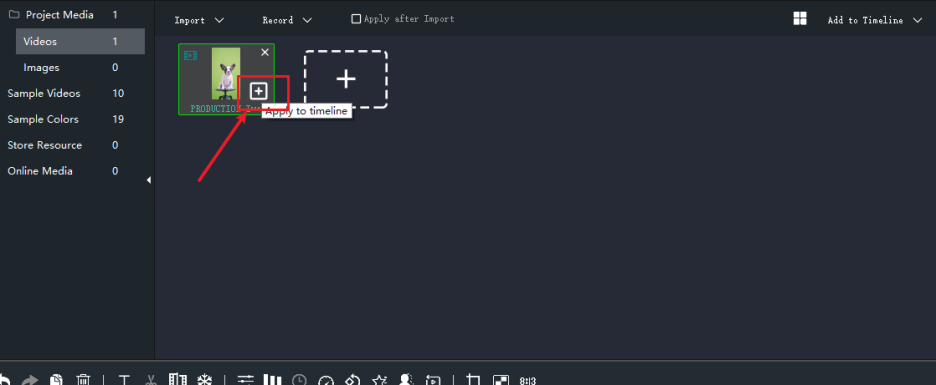
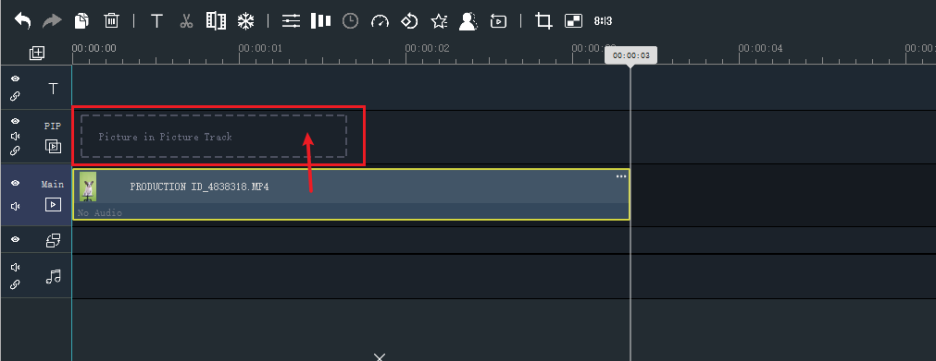
Repeat the above steps to import the background video material.
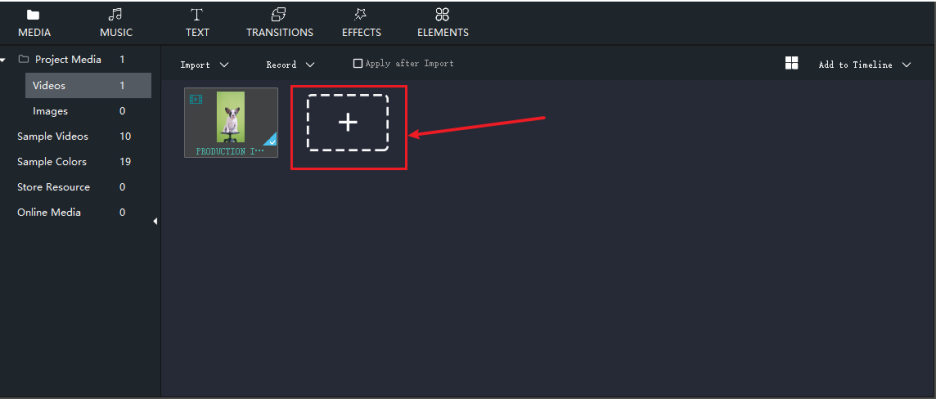
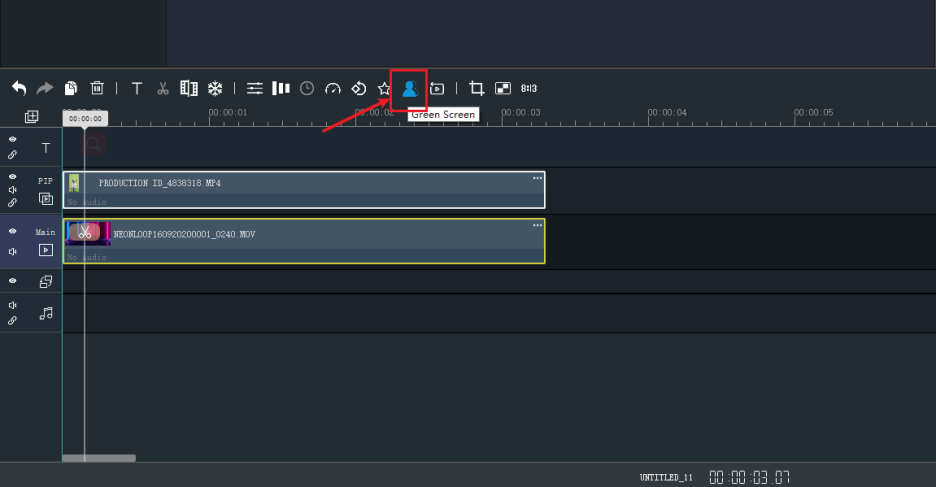
Step 2: Use the "Green Screen" button to change the video effect
Click the first video material, and make it appear in the upper right corner of the editing screen together with the second.
By the way, you can freely adjust the position and size of the first video material.
Then click on the "Green Screen" button.
Step 3: Press the green screen using the color picker
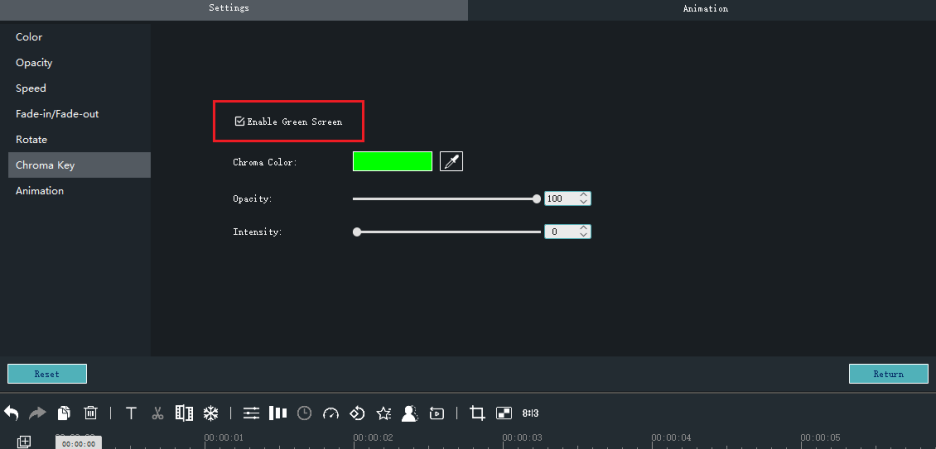
Don't forget to check the "Enable Green Screen" button.
Click on the color picker, pick the color on the green background and pull out successfully.

Step 4: Playing and saving
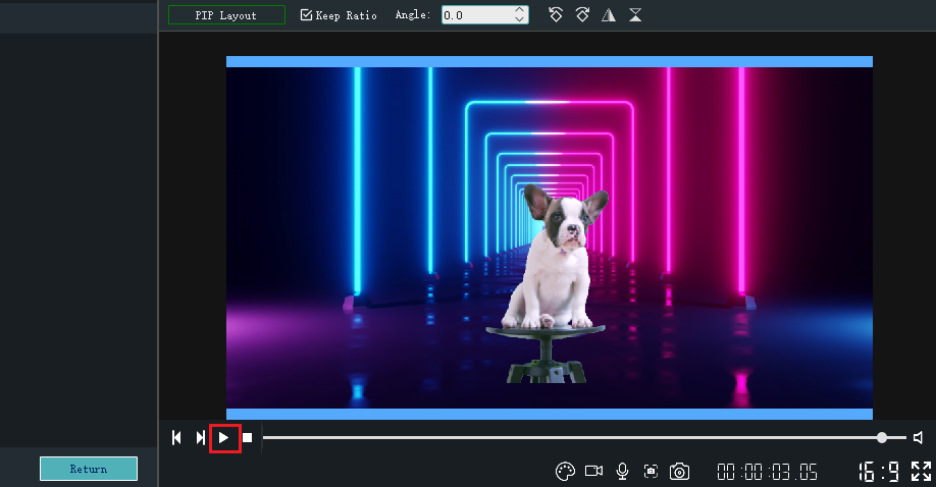
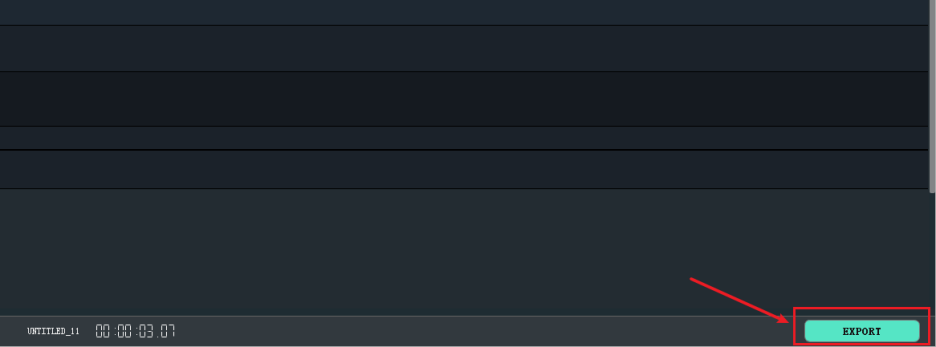
Click the "Pause" button below the video to play the newly made video, and then click "EXPORT" to save it.
These are all steps to create a green-screen effect for your video.If you are interested in more video editing, please click the link below to download Windows Movie Maker for free, and explore more interesting ways to play.


