How to add mosaic in Windows Movie Maker
Mosaic is one of video editing means that can hide inappropriate or personal information by circling a range and then overlapping the images with totally different pixels in the range. More often than not, we also can use Mosaic to add artistic sense to the video. The following steps may help you to eliminate your concerns when using Windows Movie Maker to easily apply mosaics to video.
Step 1: Import the video
As you click "+" to import the video, it can be placed on the main timeline spontaneously.
Or you can directly drag it to the timeline.
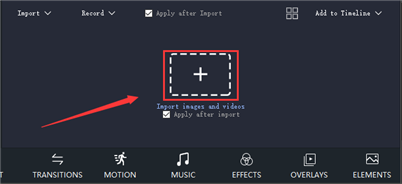
And click' Add to Timeline" to determine the video position on the timeline by hand.

If you need to adjust the sequence of multiple videos, tap "Sort" and choose to arrange them by Name, Type, Duration, Created time, or just to ascend and descend videos.
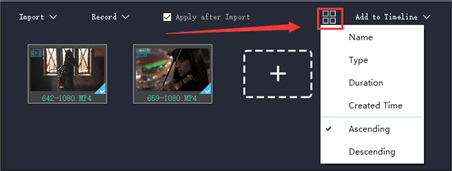
Step 2: Enter mosaic mode
First , you should click the video on the Main Track and there will appear a yellow square frame.
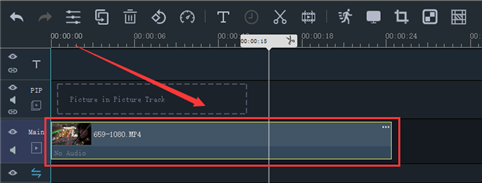
Then click the "Mosaic" icon or right-click the video on the timeline and choose "CtrI+Shift+M " shortcut to enter Mosaic mode at the top left of the window.
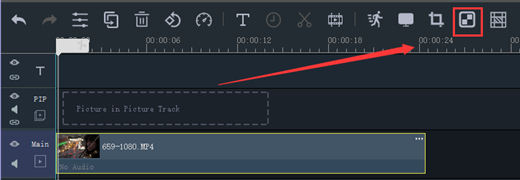
Step 3: Change pixel size and number
To begin with, the image in the rectangle is where the mosaic is placed in the video.
Drag four solid line angles of the square to zoom the mosaic while you view the practical effect in the video display area on the right.
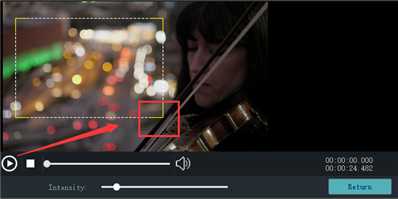
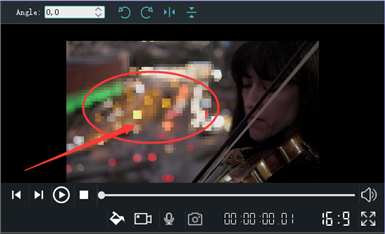
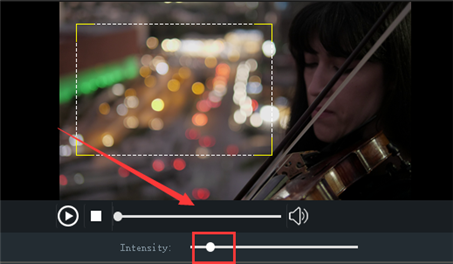
Besides, drag the slider below the video to the left or right to regulate the intensity of the Mosaic.
Step 4: Export the mosaic video
Tap the "Export" button in the bottom right corner of the page.
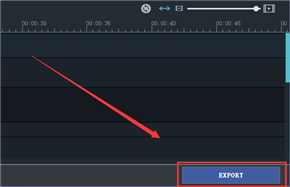
Then select the device or platform for video upload and change the name, save location, resolution, and other information of your mosaic video.
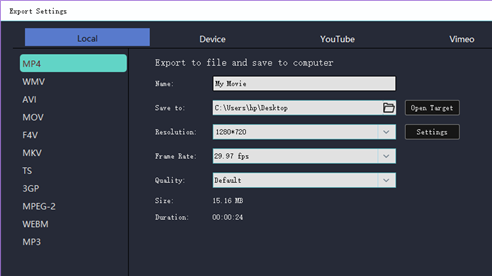
Don’t forget to click "Export" to save it.
Now you know how to add Mosaic to your video in Windows Movie Maker. And it is easy for you to master even if you’re a novice. So let’s download the latest version of Windows Movie Maker via the official link below and have a try.


