How to use the freeze frame in Windows Movie Maker
Are you still struggling with how to make an impressive video? Here's a simple and easy-to-use trick: applying the freeze frame to make a still scene. Freeze frame can not only highlight important scenes but also provide videos more personality and vitality if the freeze frame you after editing corresponds to the overall style of the video. The following steps may help you eliminate your worries when using Windows Movie Maker to freeze frames.
Step 1: Import the video
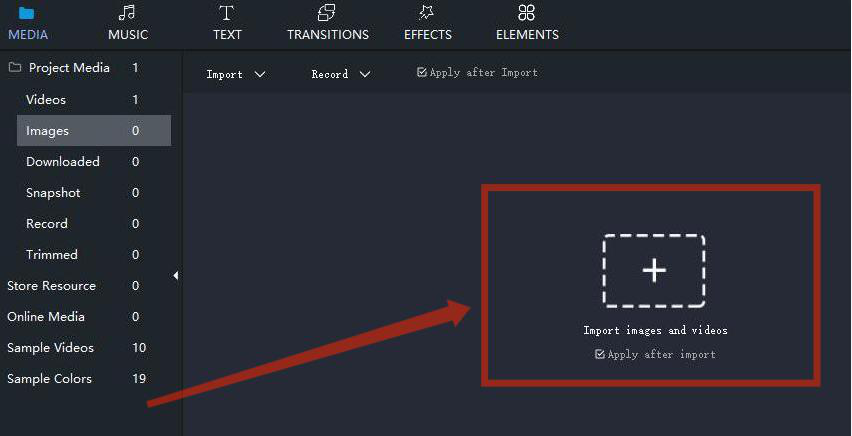
As you click “+” to import the video, it can be placed on the main timeline spontaneously.
Or you can directly drag it to the timeline.
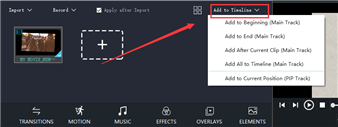
And click “ Add to Timeline” to determine the video position on the timeline.
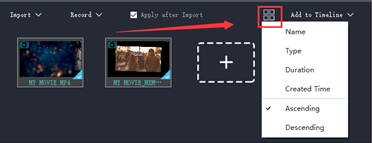
If you need to adjust the sequence of multiple videos, tap “Sort” and choose to arrange them by Name, Type, Duration, Created time, or just to ascend and descend videos.
Step 2: Freeze current frame
First of all, click the “Start” button to view the video playback area in the upper right corner.
And click the “Pause” button when you find the frame you want to freeze in the video.
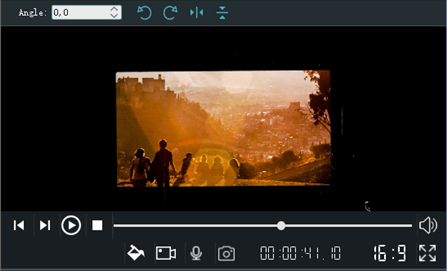
After that, Tap the “Freeze” button on the right of the middle column.
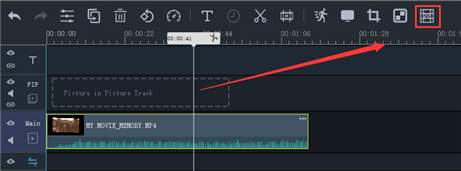
The freeze-frame will auto add the main video track as an image clip split the entire movie.
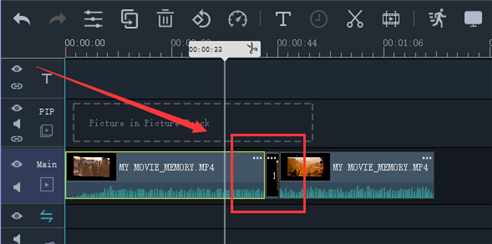
You also could put the mouse on the left or right sides of the freeze-frame and drag the two-way arrow to set the duration.
Step 3: Export the video
Tap the “Export” button in the bottom right corner of the page.

Then select the device or platform for video upload and change the name, save location, resolution, and other information of your mosaic video.
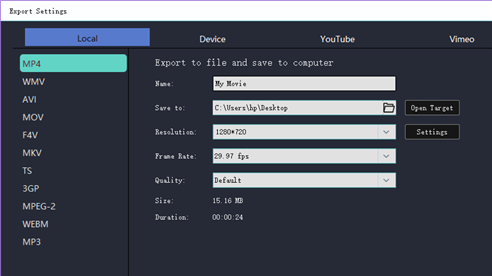
Don’t forget to click “Export” to save it.
In short, freeze-frame effect will make your video more attractive. And it's easier for you to use the freeze-frame for your video in Windows Movie Maker even if you're a novice. Therefore, let's download the latest version of Windows Movie Maker through the following official link and try it.


